New Brewer’s Friend Features and New Membership Options
Thursday, February 25th, 2016Hi Fellow Brewers!
Our team at Brewer’s Friend has been hard at work improving our brewing tools and we’d like to share some of our progress and a few changes to the site and subscriptions.
First, an update on our community and content: Brewer’s Friend now has 60,000 brewers using our recipe builder, forum, and recipe catalog. We also have 327,000 recipes in our database, which have been brewed over 100,000 times! We’re so proud to be such a repository of brewing knowledge and that so many of the world’s greatest brewers trust Brewer’s Friend to plan, record, and analyze their beer.
We’ve also been working hard to bring our awesome community the tools and features they deserve. Just in the last month, we’ve introduced:
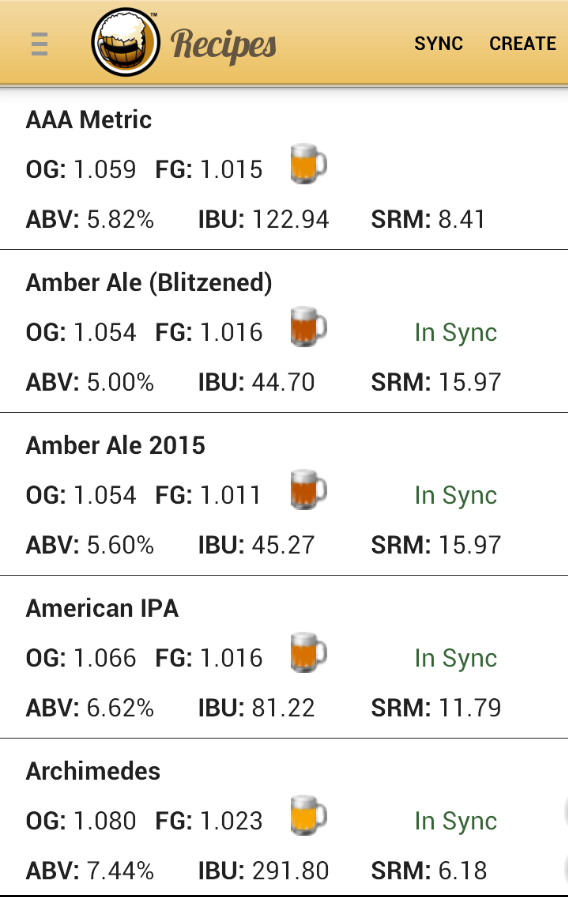
- Improvements to the My Recipes page in your dashboard, including:
- The ability to mass delete recipes. If you need to clean up your recipe list, check out the new checkboxes on your recipe list, and use the Bulk Actions at the top to do so.
-
Additional columns on your list. You can now quickly see which of your recipes are shared, public, and how many times people have brewed them.
- Lots of new ingredient data in our database:
- New malts from Ireland
- New yeast options from Omega Yeast Labs & Imperial Yeast
- Improvements to our Candi Syrup data: show color in ingredient titles, added D-45, D-90, D-180
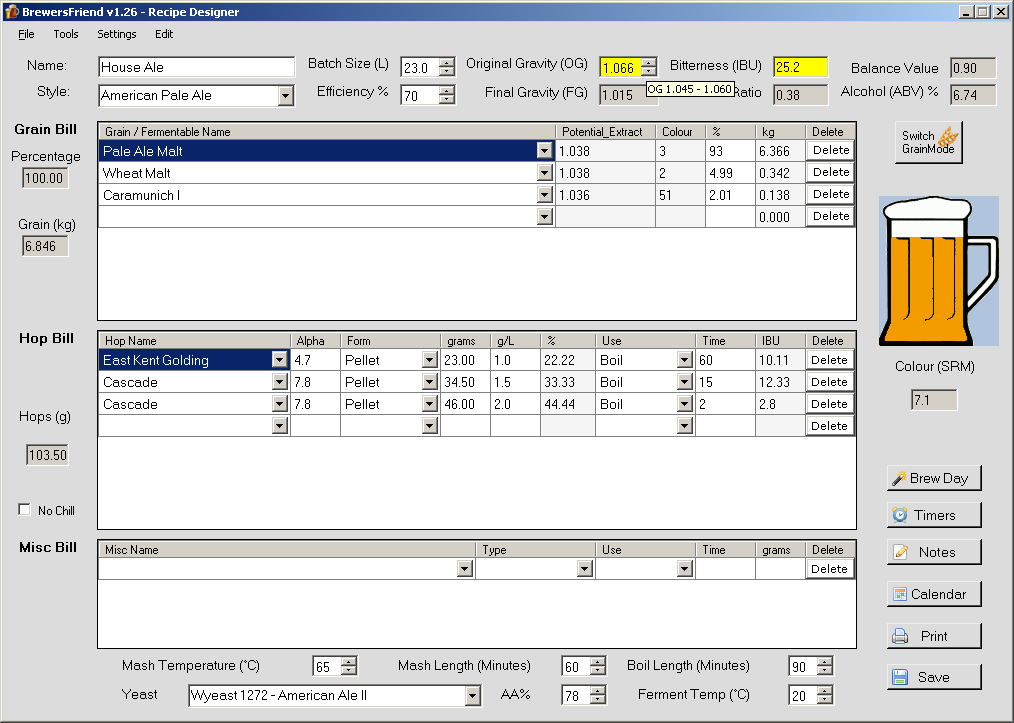
- Improvements for the Brewer’s Friend Windows app, including bug fixes timer alert sounds
Secondly, we’re announcing some change to our membership options. Since Brewer’s Friend became a full-featured professional brewing tool and began charging subscription fees in 2012, our prices have been fixed at $9.99 per year. Four years later, we’ve now decided it’s time we adjust our pricing to more closely match the investment we’re making in development, servers, and maintaining the tools and service at a high level. This will help us continue adding new features, and keep the site running as fast and as smoothly as possible.
Additionally, we’ve received quite a bit of feedback that people would prefer a lifetime option, so you can pay one price, one time, and have premium access to Brewer’s Friend forever. We’re happy to announce that we’re re-introducing this option.
With these two changes, our new premium subscription options will be:
- One Year – $14.99
- Lifetime – $149.99
And don’t worry, we’ll still offer a free option to allow you to try out our services before deciding on a Premium account.
We want to be sure that you, our valued current customers, have time to upgrade at the existing rates before we make these changes. As a result, these updates won’t appear on the site until Friday, March 11th. In the next two weeks, feel free to add time to your Premium account and/or upgrade at the current rates.
Thank you so much for being a valued part of our homebrewing community and growing your brewing with us over the years. We look forward to continuing to make great beer with you!
Cheers!
The Brewer’s Friend Team